How to log onto the Gnet Hotspot.
From your device go to the: Make a new WiFi connection icon.
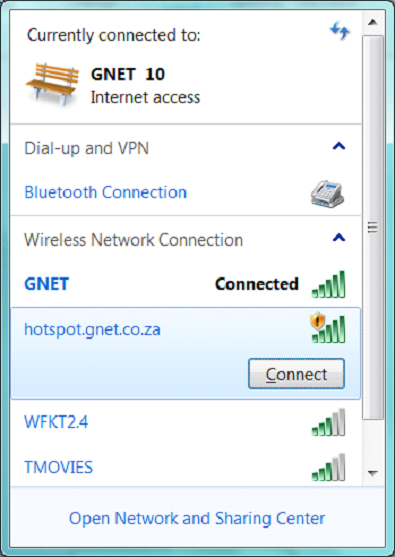
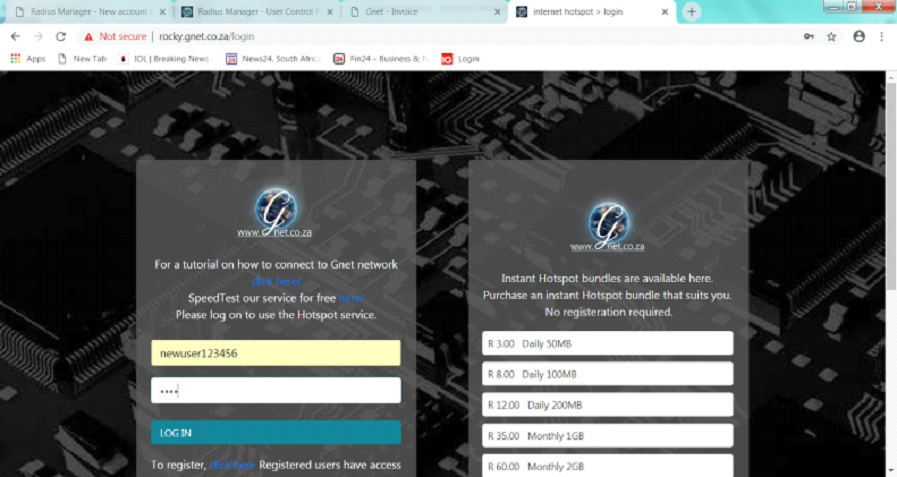
After pressing Connect, this web page should open up automaticaly for you.
For some laptops the automated page open is disabled and you may have to type in the address of the web page ie. hotspot.gnet.co.za or (yourcomplexname).gnet.co.za eg rocky.gnet.co.za. to open the main login page.
Once the page is open you are ready to start registration procedures.
From this page you can register as a new user.
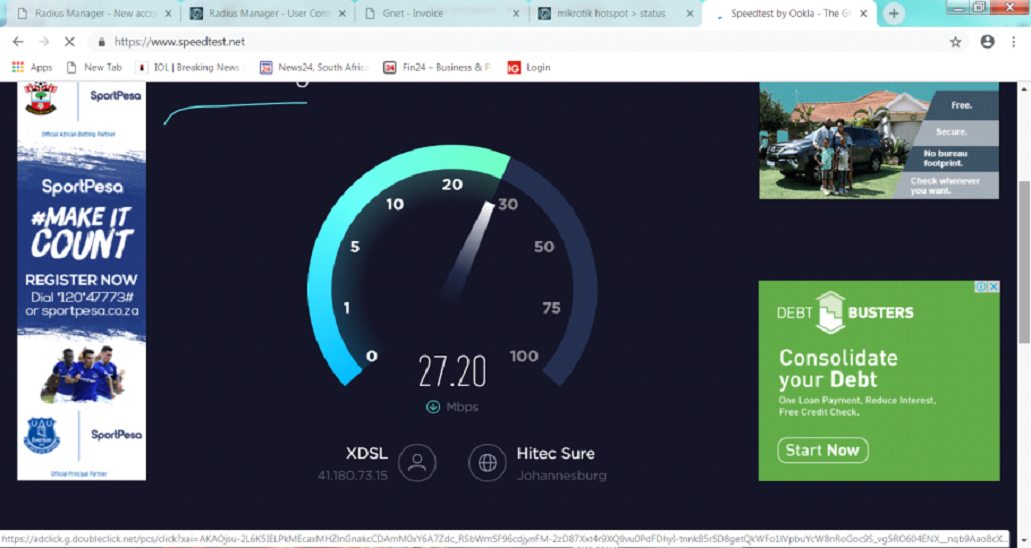
Do a speed test to see what kind of speed you can expect on this system.
Use quick access to get onto the network without registration, or contact us via email or watsapp for more information.
Quick access gets you on right now.
Full registration offers you additional benefits such as the ability to manage your data and see how much data was used, change passwords, get special deals and lower prices .

Full registration is advised. This page will step you through the process to gain acces to the internet from any of your devices. Pressing the register there highlighted text will get you to this page.
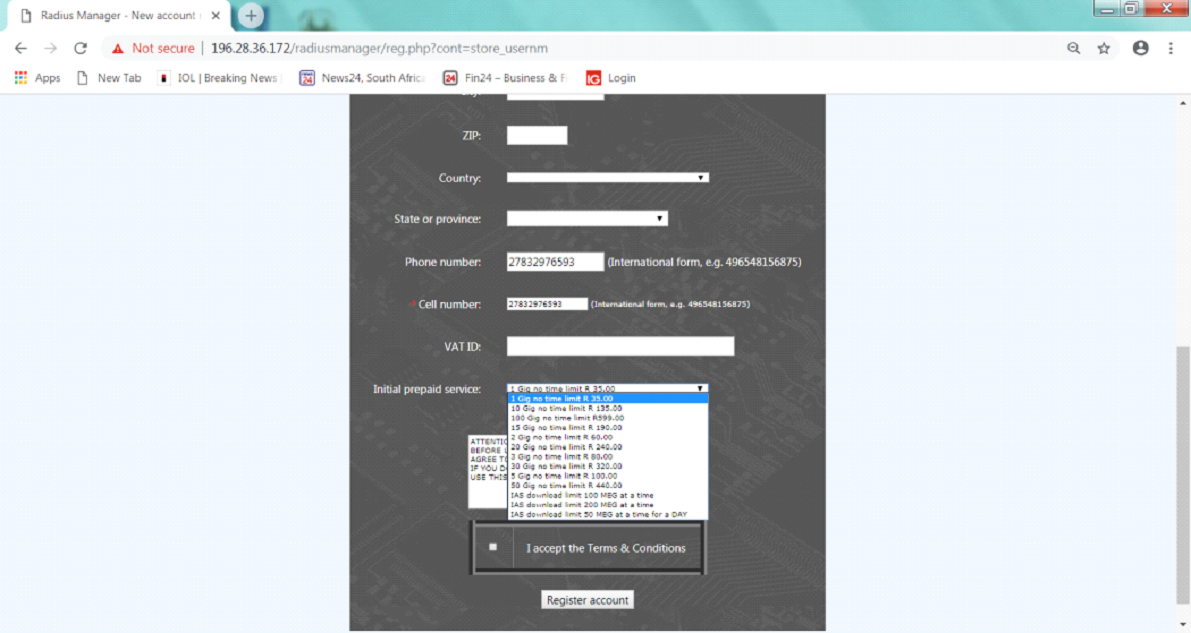
Name and telephone number are the most important of the fields to fill in. The user name has to be unique and if a conflict exists (that name exists already) the system will tell you to change the name to somthing else.
The telephone number has to have the international code. So if your phone number is 083 255 9999 then the number including the international code will be 27832559999.

Select the initial service you want to start with.
This can be changed at any time and you do not lose the data you already have if a service is changed. Once all the fields have been filled in accept the terms and conditions and press register the account.
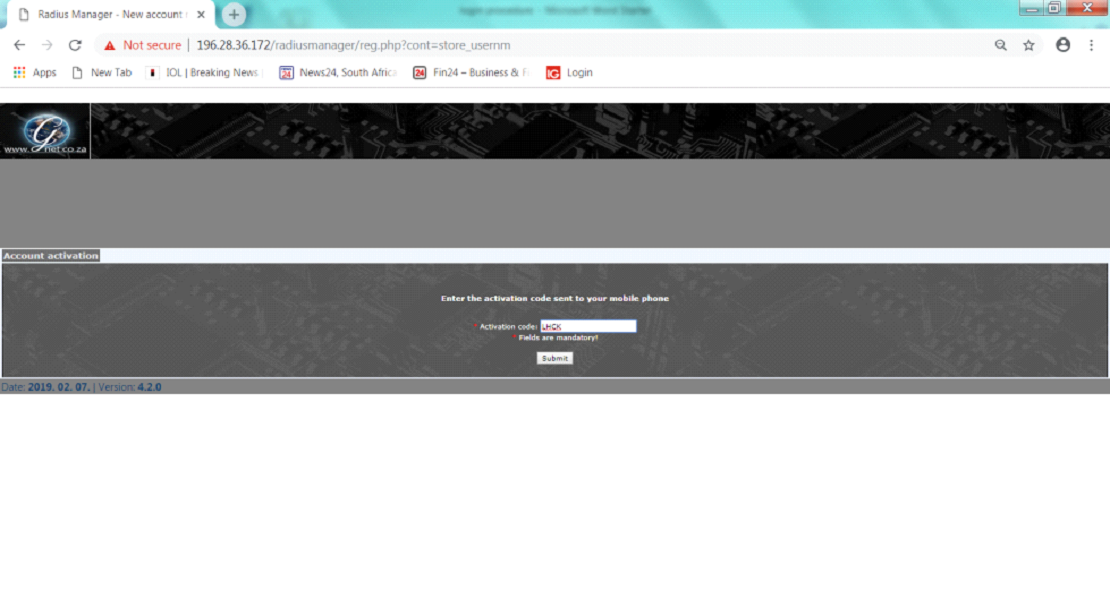
Once you have registered a verification SMS will be sent to your phone. ( it takes about 1 minute to receive the SMS) .Enter the code sent to you via SMS.
You have now registered your new account. A second SMS will be sent to you with your account name and password details. Although you are registered there is still no data for you to use. The next part is adding data to the account that you can use from any of your devices.
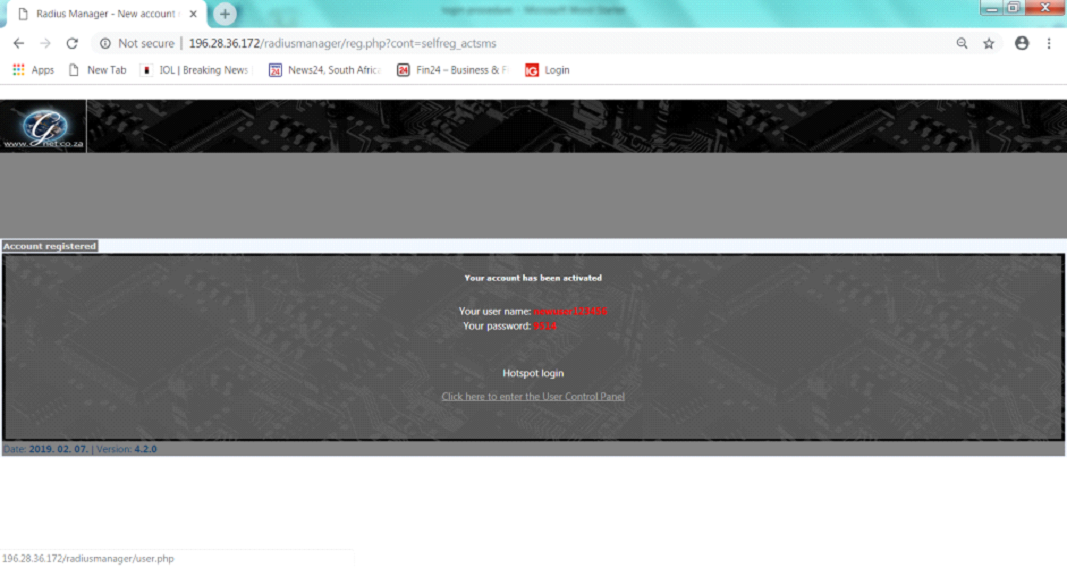
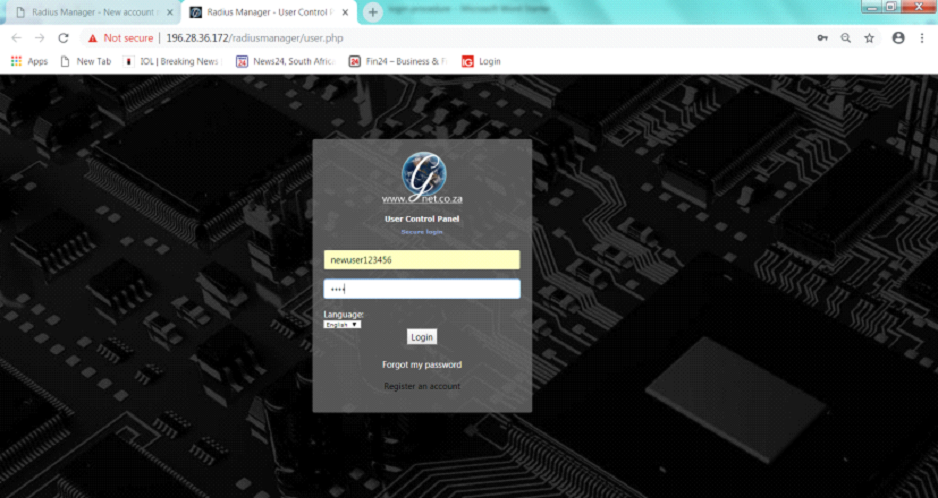
Click on the user control panel and you will be taken to the logon screen. Enter the username and password sent to you via SMS.
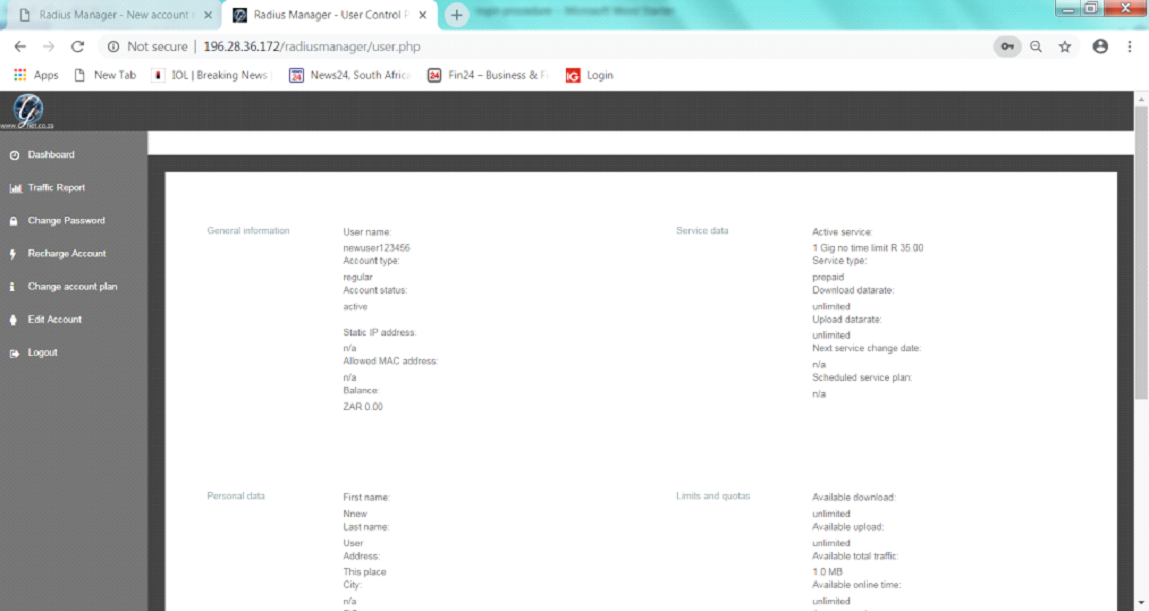
The main dashboard shows all the information regarding this account.
Traffic report will give you a total of the data used on any single day with login times and data used.
You are able to change the password at any time.
Recharge your account (buy the data you want)
Change account plan:
The account plans offer very large discounts the more data you buy. If you only plan to use 1 GIG in a month then choose that one, if you plan to use 100 gig in a month then choose that one.
Edit account allows you to make changes to any of your details, such as address, phone number etc
Logout exits the customer management section.
To gain access to the data we need to recharge the account. Select recharge the account.
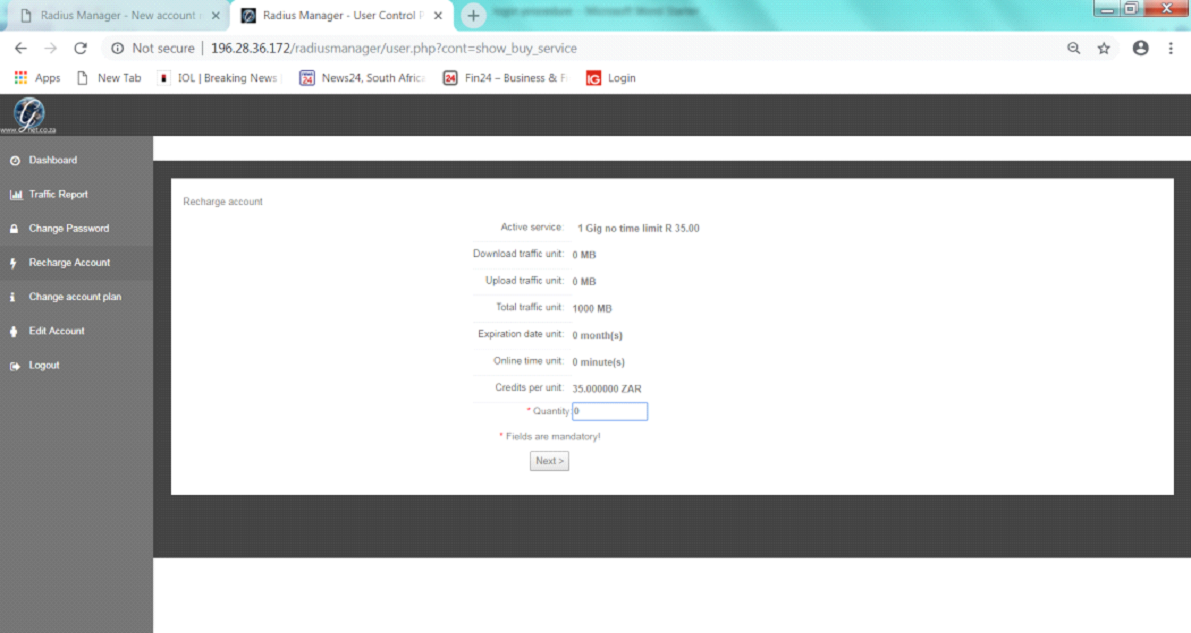
Fill in the number of recharges you are looking for. So with 1 gig selected as the account type if you put 1 in the quantity then you will get 1 additional GIG of usable data, put 2 in the quantity and you will get 2 GIG added to your account, and so on.
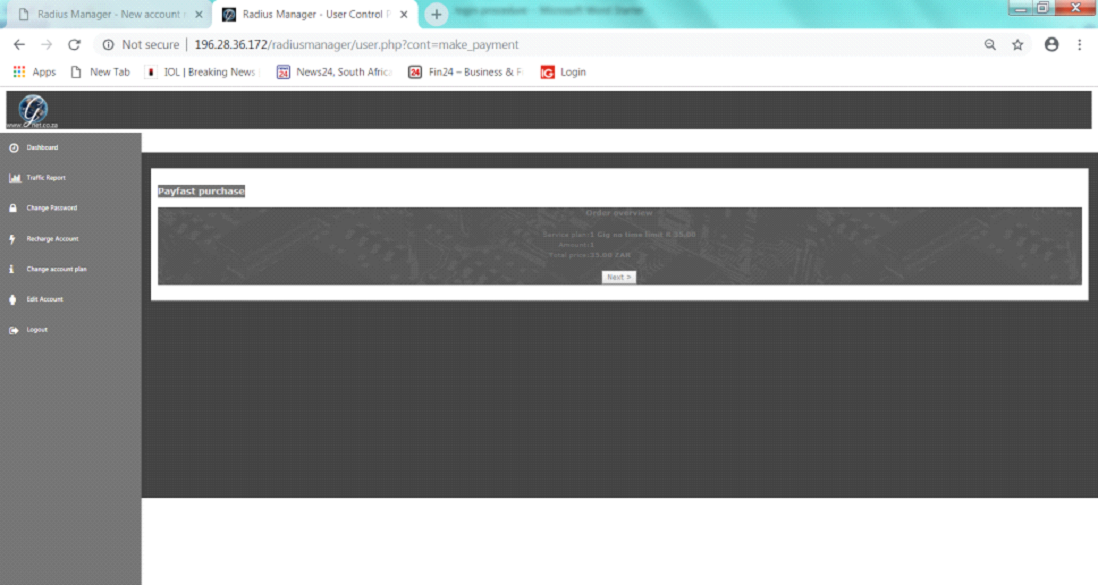
Press next to continue.
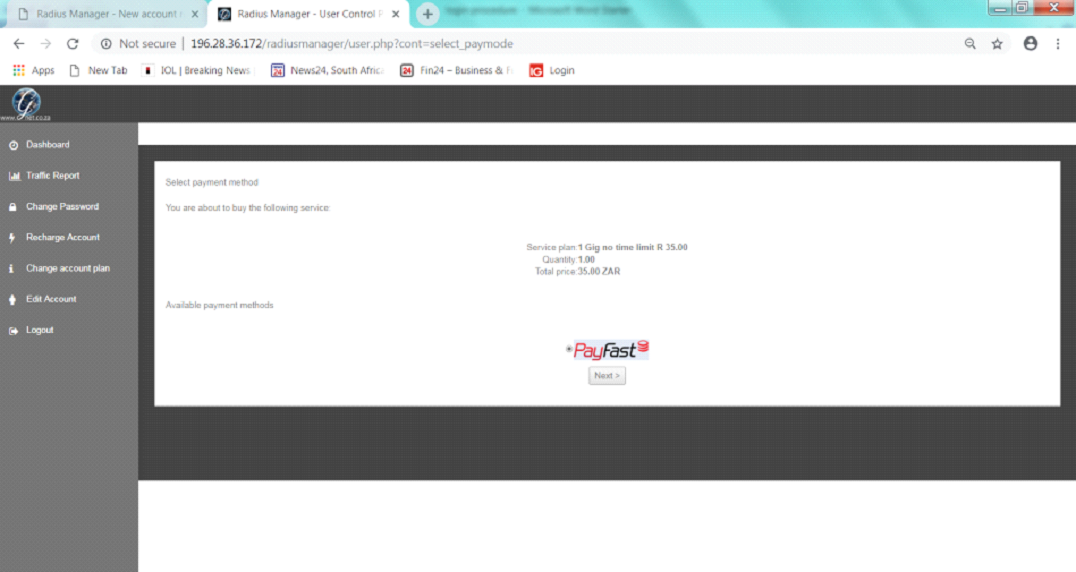
The default payment method is Payfast.
You can pay by EFT, credit card, Bit coin and many other payment methods. There is a second confirmation that you are about to be redirected to Payfast to complete the transaction.
Once you have completed the Payfast transaction successfully you will be returned to the Successful transaction screen.
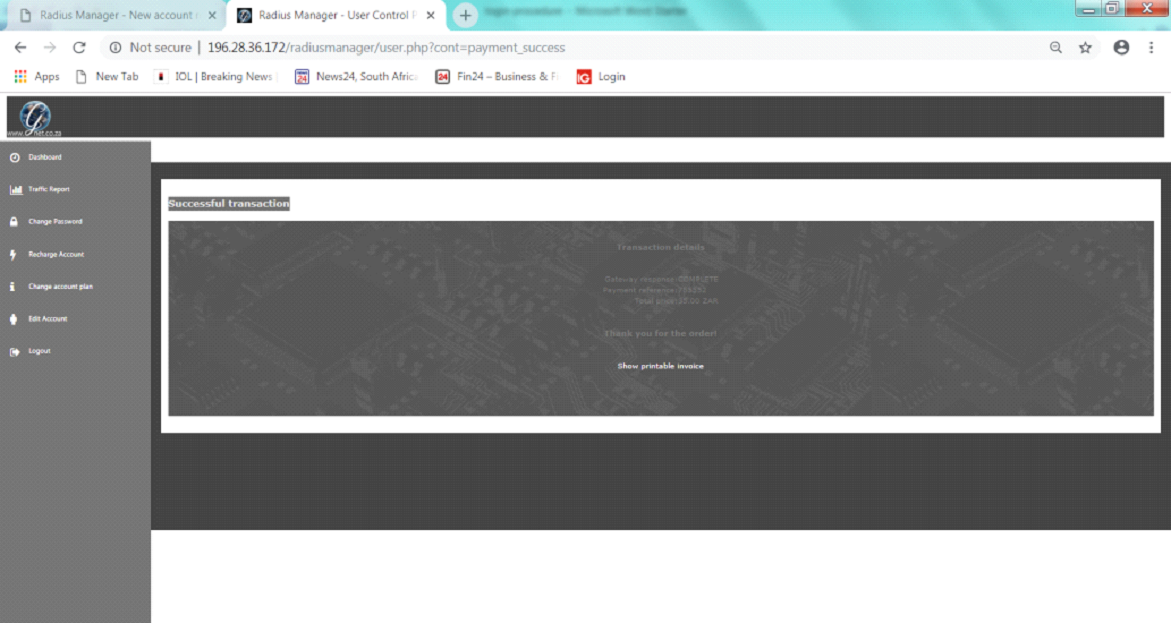
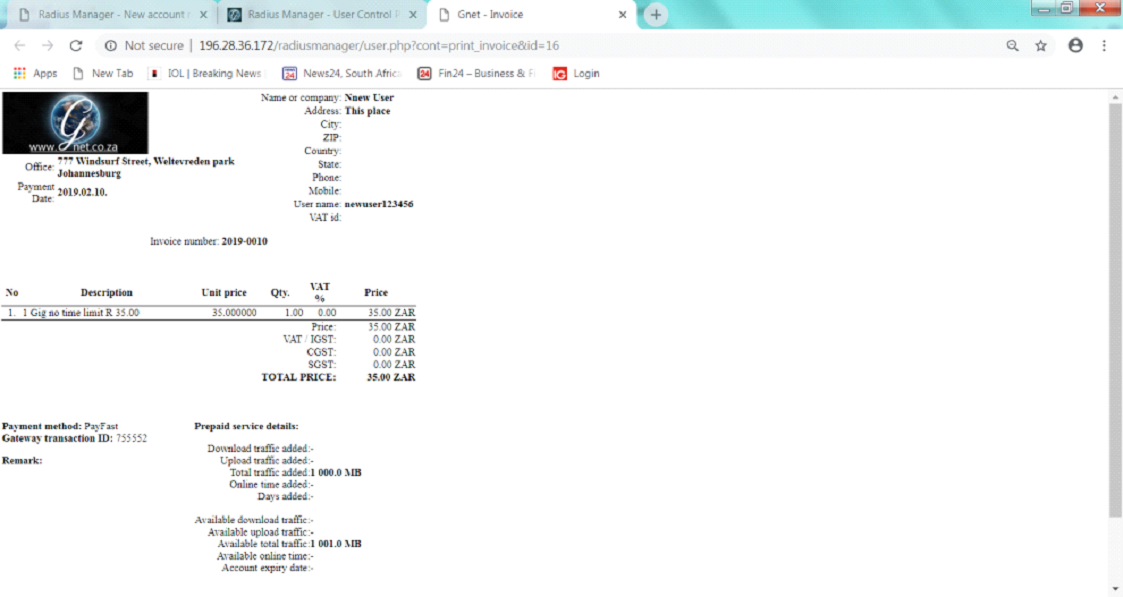
From here you can view the completed invoice and print it for your records.
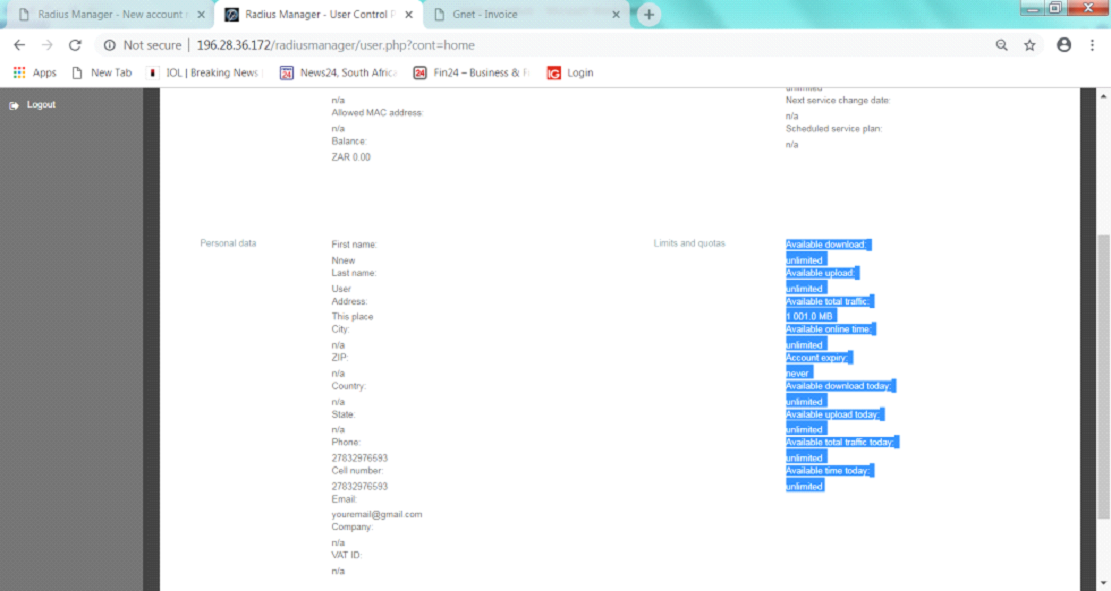
From the dashboard you can now see that the data is available to you. There is no expiry of the data so no need to use it within a specific time, the data will carry over to the following month. If you add more data there is no reset of time or data, the new data is simply be added to the available amount you have in the account.
You are now ready to go browsing. To logon you need to go to hotspot.gnet.co.za to see the login screen. (or building name EG rocky.gnet.co.za).
Fill in the Login name and the Password, and Press LOGIN
Confirmation screen that you are logged in.
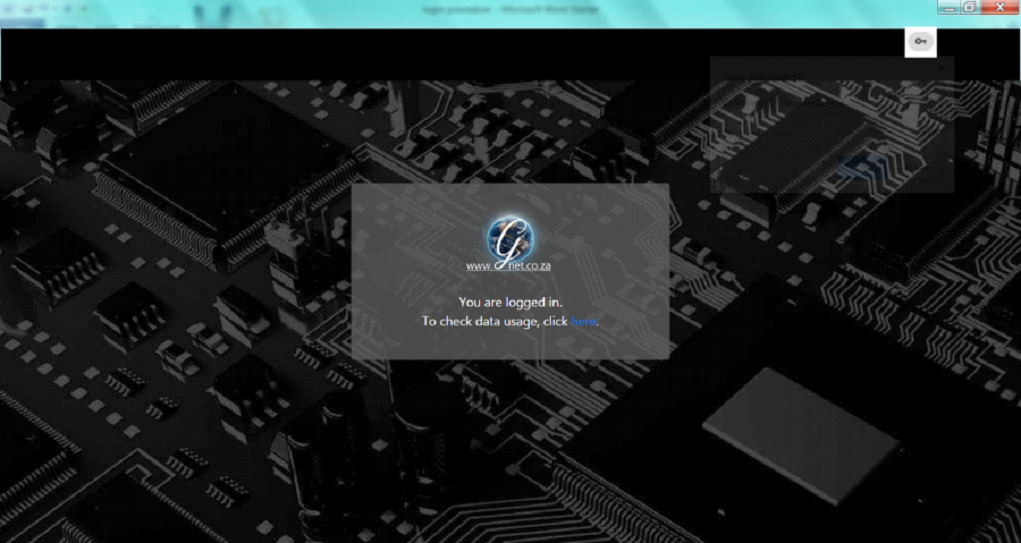
With a link to the status page, you can access this page at any time, it updates every 1 minute to let you know what data you have used during this session.

You are now able to use the internet.
There are no speed or access restrictions.
Once you have gone through this process to reconnect to the system later just select the hotspot.gnet.co.za WIFI connection, the system we automatically log you back on without the need to type in your login and password again.
There is no limit to how many devices you login with this account, you can add it to your phone, Xbox, Laptop or PC. There is no additional changes for more devices.
If at any time you want to add more data go through the recharge sequence again